


 Continue with Google

 Share on media
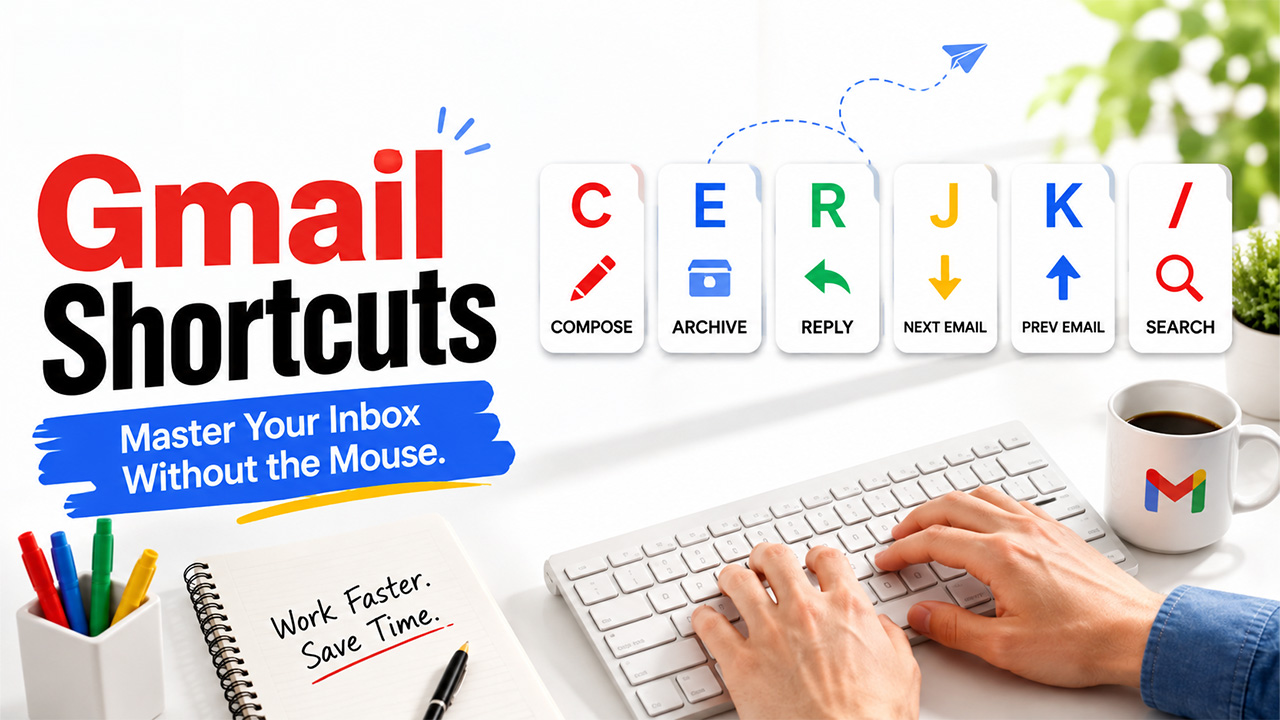
If you’re still reaching for your mouse every time you want to archive an email or jump to your next unread message, Gmail shortcuts are about to save you a surprising amount of time. Once you build the habit, navigating your inbox on desktop starts feeling noticeably faster, almost like Gmail was hiding a whole layer of speed the entire time.
This isn’t about becoming a keyboard purist either; it’s simply about cutting out repetitive clicking for the actions you do dozens of times a day. Archive, reply, search, delete, all of it can happen without your hand ever leaving the keyboard.
In this blog, we’ll walk through how to turn shortcuts on, the most useful ones to actually learn, how things shift slightly if you’re on a Mac, and how to build your own custom shortcuts for the actions you use most.
What Are Gmail Shortcuts?
Gmail shortcuts are keyboard combinations that let you perform common tasks such as archiving, replying, and searching without touching your mouse at all. They exist quietly in the background of Gmail, disabled by default, ready to be turned on by anyone who cares to do so.
It is all about the amount of time that accumulates during your workday. In case you are dealing with a crowded email inbox, every additional click needed to store an email away or search for something takes several seconds, which add up very quickly when you deal with dozens or even hundreds of emails per day.
There’s also a focus argument worth mentioning. Switching between mouse and keyboard constantly breaks concentration in a small but real way. Staying on the keyboard keeps your hands, and your attention, moving in one continuous motion instead.
How to Enable Gmail Keyboard Shortcuts on Desktop
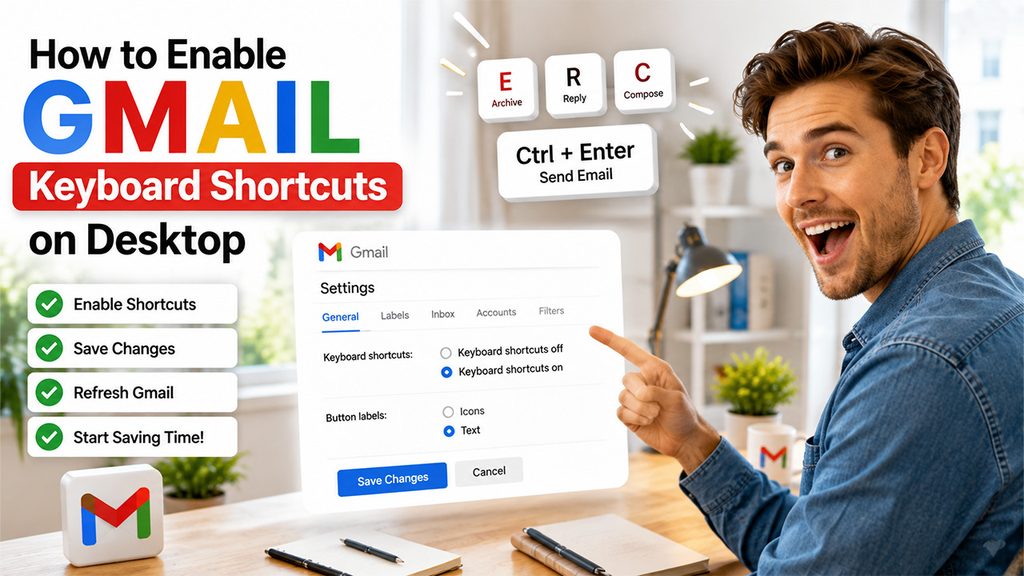
Gmail keyboard shortcuts are turned off by default, which is exactly why so many people assume they don’t exist; they’ve simply never been switched on. Getting them working takes less than a minute, and it’s the one setting that unlocks everything else covered in this blog.
Step 1: Open Gmail in your browser and click the gear icon in the top right corner.
Step 2: Select “See all settings” from the dropdown that appears.
Step 3: Stay on the General tab, then scroll down until you spot “Keyboard shortcuts”.
Step 4: Select “Keyboard shortcuts on”.
Step 5: Scroll further down and click “Save Changes” to lock it in.
After saving, make sure to refresh Gmail and then test it out. A simple way to confirm if it worked is to press Shift+ / anywhere in Gmail, and a list of all shortcuts will appear on-screen, which also serves as a cheat sheet while getting into the swing of things.
It might also be good to know that not everything is determined by this setting. There are a few key combinations, such as Ctrl + Enter to send an email, which will just work no matter what, even when the shortcuts feature is off. However, the letter shortcuts that people use daily, namely E for Archive, C for Compose, R for Reply, only activate once this setting is switched on, so it’s genuinely the first thing to check if a shortcut doesn’t seem to be working.
Most Useful Gmail Shortcuts to know
Once shortcuts are switched on, a handful of them end up doing most of the heavy lifting day to day:
| Shortcut | Action |
| C | Opens a new compose window |
| E | Archives the selected or open email |
| # (Shift + 3) | Deletes the selected email entirely |
| R | Replies to the email you’re reading |
| A | Replies to all recipients on the thread |
| F | Forwards the current email |
| J / K | Moves to the next or previous email |
| U | Returns to the inbox list |
| / | Jumps straight to the search bar |
| B | Snoozes an email for later |
This is one that is worth reflecting upon a bit. Snooze goes hand-in-hand with Best Scheduling Tools as it allows you to defer a notification until the time when you actually need to take action regarding the notification.
Just learning five or six of these completely changes the feel of the process of working through your inbox. It changes from going from one email to another by clicking on each one into pressing a key, processing it, taking action, and moving on.
Gmail Shortcut on Mac: What’s Different
The good news for Mac users is that most of what’s covered so far works the same. All the single-key shortcuts such as E, C, R, J, K, and many others will function just fine, irrespective of whether you are on a Windows machine or a Mac, because those involve basic key presses in Gmail only.
Where things actually differ is with formatting and editor commands inside the compose window. On Windows, these rely on the Ctrl key, while on Mac, the same actions use ⌘ (Command) instead. So bolding text, for example, is Ctrl+B on Windows but ⌘+B on Mac; same logic, different modifier key.
This distinction is important for reasons not yet clear, in that it is the most prevalent cause of a “broken” Gmail button on Mac, which is actually just the result of a Windows key being used in the wrong place. After this mental adjustment is made, then Ctrl becomes Command, and all is well.
However, if you’re managing Gmail through a dedicated Gmail App for Mac rather than the browser, most of these keyboard shortcuts will be relevant, because the desktop application mimics the keyboard shortcut mechanism used in the browser.
Creating Custom Shortcuts in Gmail
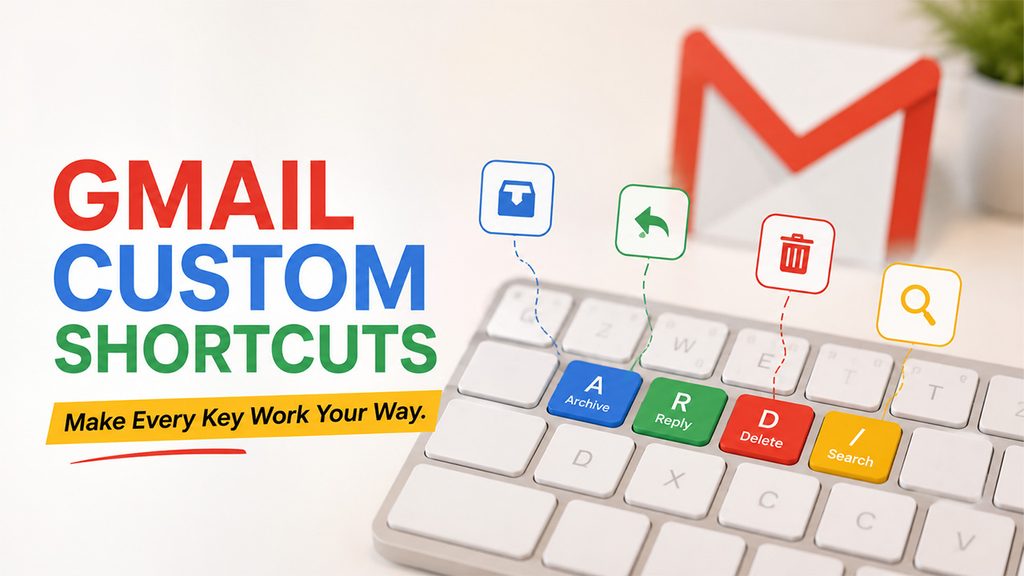
For anyone who wants more control than Gmail’s default keys offer, custom shortcuts let you remap actions to whatever keys actually make sense for how you work.
Step 1: Open Settings, then click “See all settings”.
Step 2: Head to the Advanced tab.
Step 3: Find “Custom keyboard shortcuts” and select “Enable”.
Step 4: Scroll down and click “Save Changes”
Step 5: A new “Keyboard Shortcuts” tab appears in Settings; this is where remapping actually happens.
Step 6: Assign the actions you use most to whichever keys feel most natural, then save again.
One limitation worth knowing upfront: each key can only be tied to a single action. As such, you will have to free a key before you can map it to a new function.
This functionality becomes particularly relevant for those who have muscle memory from using other applications. Users of Vim, for example, frequently remap navigation keys according to their experience elsewhere.
Conclusion
Ultimately, Gmail shortcuts are not about being a keyboard extremist; they are about taking away small friction that is built into an activity that you perform many times a day. Eventually, when the habit is set up, going to your mouse to archive or reply starts to seem like the long way around.
It all comes down to starting from the very basics: enable shortcuts, learn a couple of five or six that fit you, and everything else will fall into place with time. Regardless of whether you use Windows or Gmail shortcuts on Mac, the principle remains the same: fewer clicks, faster movements, less friction between yourself and an empty inbox.
Learning custom shortcuts can be done later, but even without taking this step, just enabling the Gmail shortcuts and learning the core of them is enough to feel the change.