












 Continue with Google

 Share on media
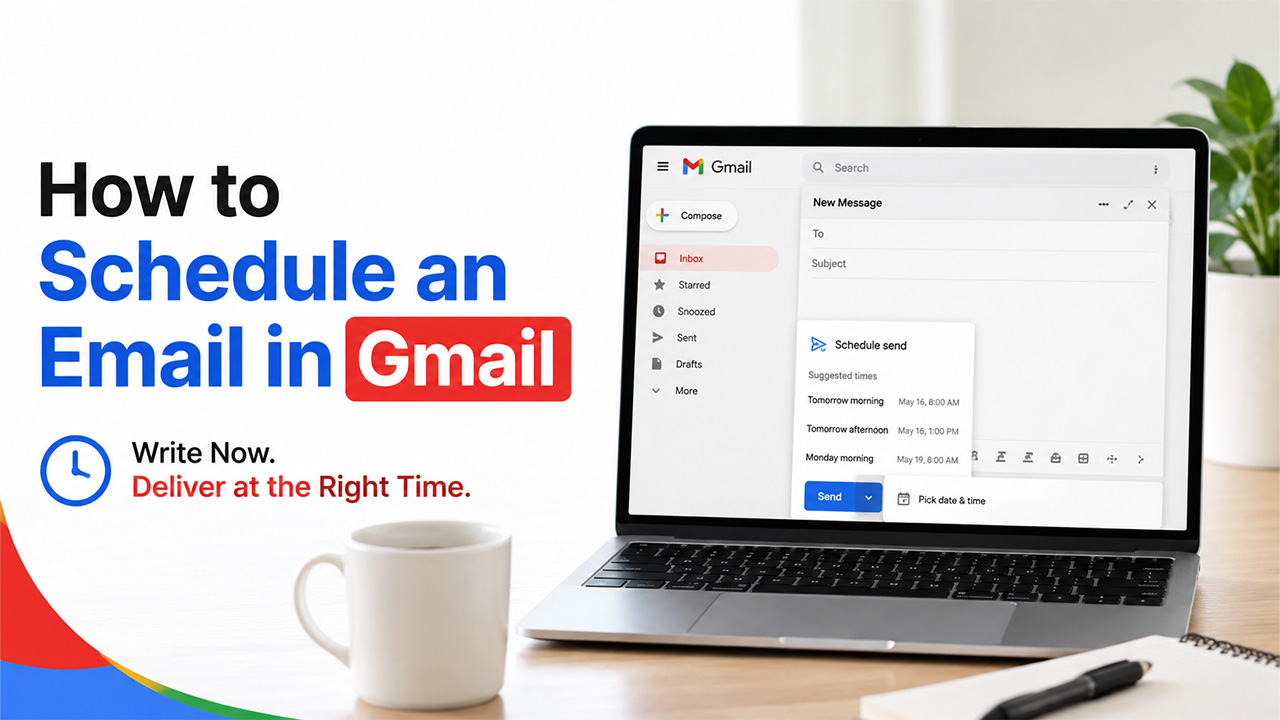
Suppose it’s 11 PM and you’ve just finished writing an Email to a client. The Email is clear and polite, and it conveys exactly what you wanted to say. However, sending it now means it lands in their inbox at midnight, which doesn’t look professional and makes you seem like someone who never switches off. So, you have two choices: either send it anyway and hope they don’t notice the timestamp, which is rare, to be honest, or you leave it in drafts and hope you remember to send it in the morning. Most of us have done both, and neither option feels great.
This is exactly the problem Gmail’s scheduling feature was built to solve. And once you start using it, you’ll wonder how you managed without it.
If you’re new to Email altogether, it helps first to understand what is an Email inbox before getting into how scheduling changes when messages arrive there.
How to Schedule an Email in Gmail: Step-by-Step Instructions
The process is almost the same whether you open Gmail on desktop or the mobile app, with just a couple of different tabs. Here’s exactly how to do it on both.
On Desktop
- Open Gmail at mail.google.com and click Compose to start a new Email.
- Write your message as you normally would by filling out fields of recipient, subject line, body, and any attachments. It’s worth double-checking these before scheduling, since it’s easy to queue up an Email and forget you left an attachment out.
- Look at the bottom of the compose window. You’ll see the blue Send button, and right next to it, a small downward arrow. Don’t click Send; click that arrow instead.
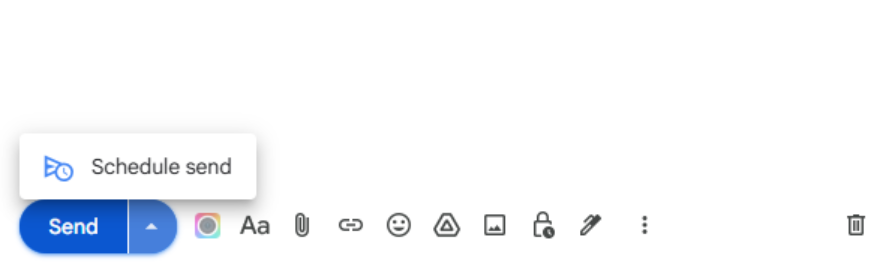
- Select “Schedule send” from the menu that appears.
- Choose a time. Gmail will suggest a few options, like “Tomorrow morning” or “Monday morning,” but you can also click Pick date & time to set an exact day and time of your choosing.
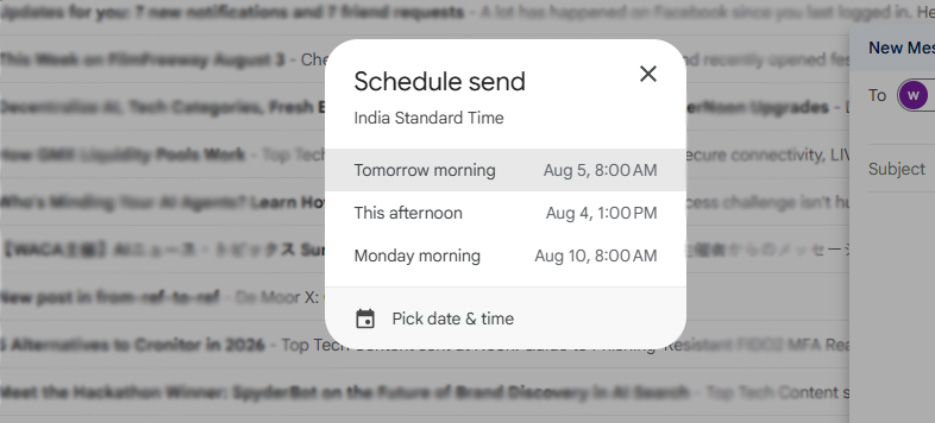
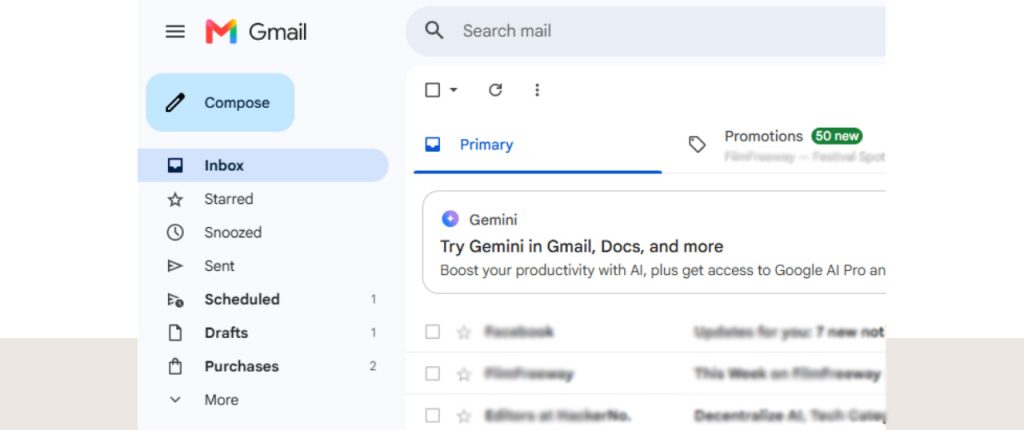
- Confirm. Your Email now moves into a new folder called Scheduled, visible in the left sidebar, where it stays queued in Gmail until its send time arrives.
On Mobile (Android and iPhone)
- Open the Gmail app and tap the Compose button, usually a pencil or plus icon in the bottom corner.
- Write your Email just like on desktop; fill out recipient, subject, and message.
- Tap the three-dot menu in the top right corner of the compose screen.
- Select “Schedule send” from the options that pop up.
- Pick a time from the suggested slots or choose a custom date and time.
- Confirm, and the Email drops into your Scheduled folder, exactly like it does on desktop.
One fascinating detail is that you don’t have to keep your account open or stay online when the scheduled time hits. Gmail handles delivery on its own servers, so the Email goes out even if your laptop is shut down or your phone is on silent in another room.
A few things to keep in mind before you rely on this daily:
- You can queue up to 100 scheduled Emails at once.
- Once one Email is sent, that slot opens up again.
- Scheduling uses the time zone set in your Gmail account, under settings. So, if you travel a lot, make sure to check that it matches where you actually are.
If Outlook is more your speed, the same idea works there too; here’s how to schedule Email in Outlook.
How to Edit or Reschedule a Scheduled Email in Gmail
If you change your mind, spot a typo, need to add another recipient, or realize the timing isn’t right anymore, Gmail lets you edit your scheduled Email before it goes out. However, you can’t just edit it directly while it’s already in the queue. Instead, you must pull it back first.
- Open the Scheduled folder in the left sidebar of Gmail. This is where every queued Email lives until it’s sent.
- Find the Email you want to change and click on it to open it.
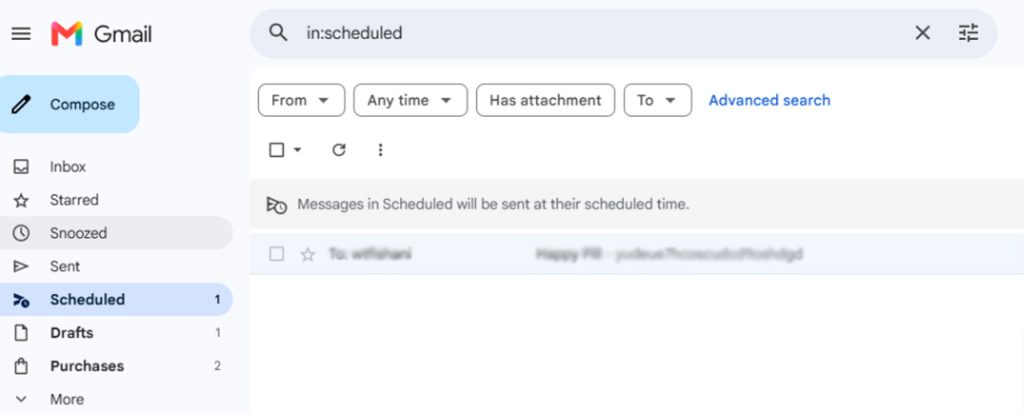
- Click “Cancel send.” This pulls the Email out of the queue and drops it back into your Drafts folder, fully editable again.
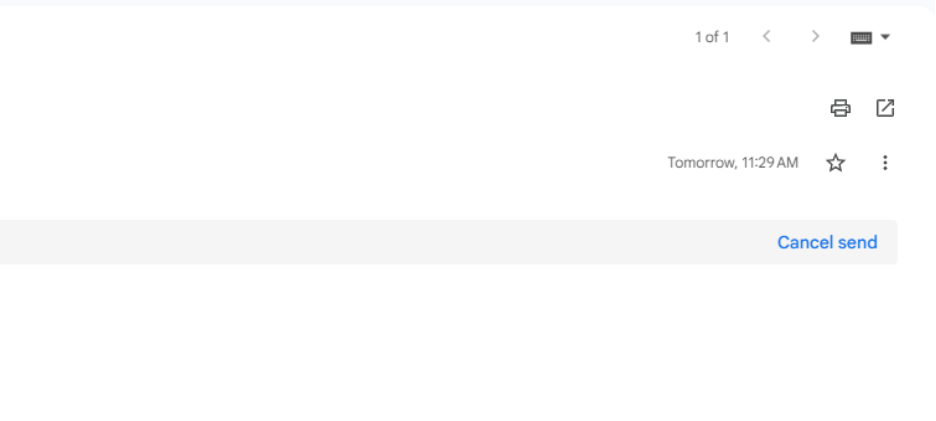
- Make your changes. Fix the copy, swap the recipient, update the attachment, or whatever it needs.
- Reschedule it the same way you did the first time: click the arrow next to Send, choose Schedule send, and pick a new time.
That’s it. The same steps work for replies, too. If you have scheduled a reply within a thread and need to tweak it, open the Scheduled folder, cancel it, edit it, and set a new time.
How to Cancel a Scheduled Email in Gmail
There are times when you don’t want to edit a scheduled Email; you just don’t want to send it anymore. Maybe because of a change of plans or email simply isn’t needed anymore. In that case, you can cancel the scheduled Email, and it takes just a few seconds.
- Open Gmail and go to the Scheduled folder in the left sidebar. If you don’t see it right away, click More to expand the full folder list, or type in:scheduled into the search bar to pull it up directly.
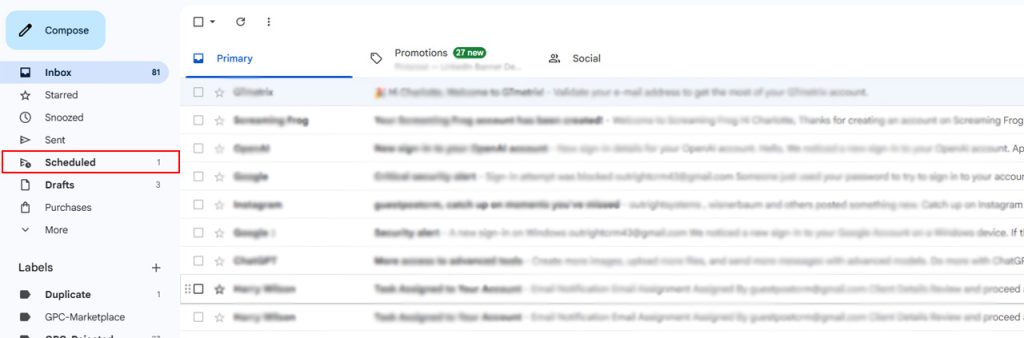
- Click on the Email you want to stop from sending.
- Click “Cancel send.” That’s the same button you’d use to edit an Email, but this time, you’re not planning to reschedule it.
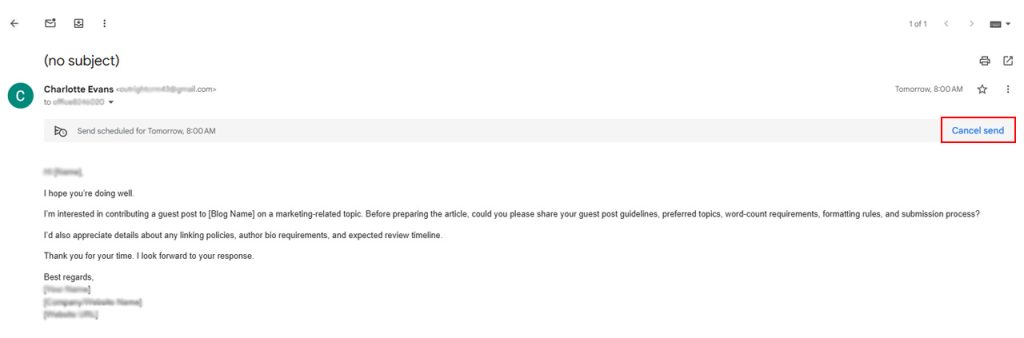
- Check your Drafts folder. The cancelled Email lands there automatically, sitting untouched until you decide what to do with it next.
Now you get a few options: leave it as a draft for later, send it right away instead of waiting, reschedule it for a new time, or get rid of it completely by clicking Discard draft. Your Email remains as it is unless you take action, so you don’t have to worry about sending it accidentally after you’ve cancelled it.
Top Benefits of Scheduling Emails in Gmail
It’s worth stepping back and looking at what scheduling actually gives you beyond just “sending later.” A few benefits stand out once you use the feature regularly:
- Improve Email Open and Response Rates: When you send an Email at the time, people are actively checking their inbox instead of 12 PM at midnight; the Email gets read faster and replied to more often than ones that land at random hours.
- Maintain a More Professional Email Presence: You control exactly when your messages arrive, so you never come across as someone working at odd hours, even if you were, and it paints a professional image. It also signals that you respect the boundaries and personal life of your client.
- Communicate Seamlessly Across Time Zones: You can write whenever suits you and still have the Email show up at a sensible hour for the person receiving it.
- Reduce Mental Load and Save Time: You no longer have to remember to manually send five different emails at five different times. You can just write them once and let Gmail handle delivery. This takes a load off your shoulders and lets you sip your coffee in peace.
- Review and Edit Emails Before They Send: Scheduling gives you time in case you change your mind overnight or make a mistake; you can cancel or edit the Email before it goes out.
The good thing is that none of these benefits need extra tools or subscriptions. They come built-in with your Gmail account, waiting to be used.
Conclusion
Now go back to 11 PM Email for a second. Once you know how to schedule an Email in Gmail, you no longer have to choose between sending something at a bad hour or forgetting about it completely. You can write it the moment you come up with something to say and tell Gmail when it should actually go out and get on with your evening. The Email lands at 9 AM, right when your client is starting their day, and you never have to worry about it again.
This simple feature quietly fixes a problem most of us didn’t realize could be fixed. It closes the gap between when we write and when we should send. Once you build the habit of using it, going back to hitting “Send” the moment you finish typing will feel a little old-fashioned.