







 Continue with Google

 Share on media
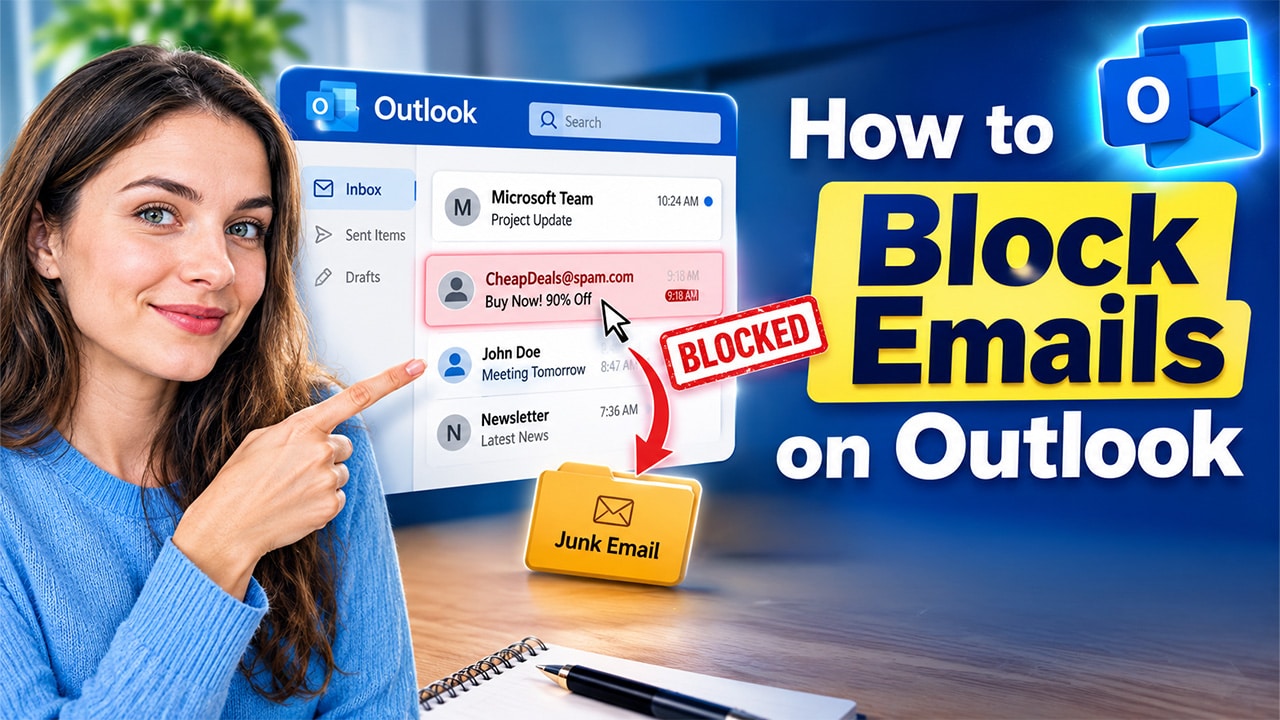
The article explains how to block emails on Outlook, whether the users are using the platform on the web, the new Outlook app, classic Outlook, or Outlook for Mac.
If the Outlook inbox is constantly filling up with unwanted emails, newsletters, promotional messages, or repeated spam, the best solution could be blocking the email address or sender to regain control of the mailbox. Outlook offers various built-in options for users to block email addresses and domains, report junk messages, and create rules that can automatically handle unwanted emails. Blocking an email address tells Outlook how to handle all future messages from a particular sender. Furthermore, for persistent spam, users can also report the message as junk or create a rule for more control.
Outlook offers various built-in options, including Outlook block sender, to block email addresses and domains, report junk messages, and create rules that can automatically handle unwanted emails.
How to Block Emails on Outlook: What it Means
Blocking an email address in Outlook generally means telling Outlook that the user does not want any future messages from that sender appearing in the regular inbox. After blocking, the messages from the sender or address are typically redirected to the Junk Email folder. However, blocking does not stop the sender from sending messages. It changes how Outlook handles those incoming messages.
Blocking an email address is especially useful for repeated unwanted emails from a specific sender, promotional messages that are no longer needed, spam from a consistent email address, or messages from a domain that the user doesn’t recognize. In short, blocking an email address in Outlook is a filtering action, which helps keep all the unwanted messages out of the inbox, while the spam reporting and filtering feature of Outlook provides additional protection against persistent junk and phishing emails.
Before blocking an unfamiliar sender, an email finder tool can help users identify an email address or find additional contact information associated with a person or organization.
How to Block Emails on Outlook
There are various methods to block an email in Outlook, but using the Outlook block sender option directly from a received email is one of the easiest methods. Users can block emails in Outlook for web, Mac, desktop app, or mobile app.
If you’re unsure who is behind an unfamiliar message, you may first want to find email addresses associated with the person or organization and verify the sender. This can help you distinguish a legitimate contact from an unwanted or potentially suspicious sender before deciding whether to block the address.
How to Block Emails on Outlook for Web
To block emails in Outlook for Web, users can follow the given steps.
- Method 1: Block a Sender from an Email
- Step 1: Sign in to Outlook on the web and open the inbox.
- Step 2: Open the email from the sender you want to block.
- Step 3: Select the More actions (…) menu or the Junk option.
- Step 4: Select Block or Block Sender.
- Step 5: Confirm the action if Outlook asks to do so.
- Method 2: Add an Address to Blocked Senders
- Step 1: Open Outlook on the web.
- Step 2: Go to Mail and then click on Junk Email.
- Step 3: Locate Blocked Senders and Domains.
- Step 4: Select Add and enter the email address or domain you want to block.
- Step 5: Select Save.
How to Block Emails on Outlook for Mac
In Outlook for Mac, users can handle unwanted senders through its junk email controls and related settings. On Mac devices, users can block emails in Outlook through the following steps:
- Step 1: Open Outlook on Mac and go to the Inbox.
- Step 2: Select the email from the sender you want to block.
- Step 3: Look for the Junk or Block option in the toolbar or message menu.
- Step 4: Select Block Sender and confirm the action.
How to Block Emails on Outlook for Desktop App
On the desktop app, the steps to block emails in Outlook differ between classic Outlook for Windows and the new Outlook for Windows, although the base steps remain the same.
- Method 1: Block Directly from an Email
- Step 1: Open the Outlook desktop app.
- Step 2: Find the unwanted email in the inbox.
- Step 3: Select the message and go to the Home tab.
- Step 5: Select Junk and choose Block Sender.
- Step 6: Confirm the action if prompted.
- Method 2: Manage Blocked Senders
- Step 1: Open the Outlook desktop app.
- Step 2: Open Settings or Junk Email settings.
- Step 3: Select Add and enter the email address or domain.
- Step 4: Save the changes.
How to Block Emails on Outlook for Mobile App
On the Outlook mobile app for Android and iPhone, the same sender-management controls are not available as in Outlook on the web or desktop. To block emails in the Outlook mobile app, users can follow the given steps:
- Step 1: Open the Outlook mobile app.
- Step 2: Open the email from the unwanted sender.
- Step 3: Tap on the three-dot menu (…) or the message actions menu.
- Step 4: Select the appropriate option.
- Step 5: Confirm the action if prompted.
How to Block an Entire Email Domain
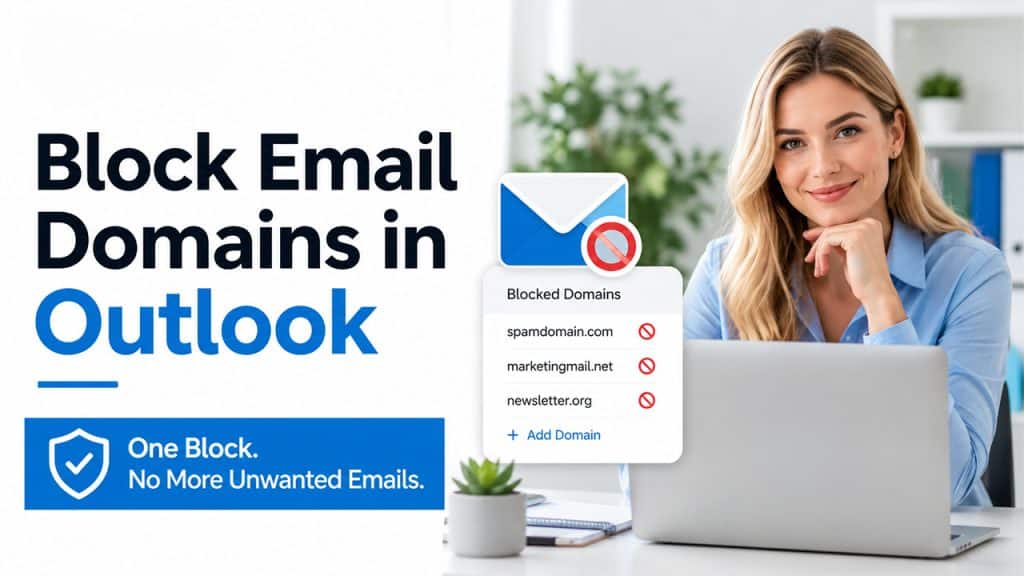
If the user is receiving unwanted emails from multiple addresses that belong to the same organization or domain, blocking the entire domain can be more effective than blocking each sender individually. To block an entire email domain in Outlook, users can follow the steps given below.
For messages from an unfamiliar sender, a reverse email lookup can be another way to investigate the email address before taking action. After confirming that the message is unwanted, users can return to Outlook and block the sender or report the email as junk.
- Step 1: Open Outlook and sign in to your account.
- Step 2: Select Settings, go to Mail, and select Junk email.
- Step 3: Find the Blocked senders and domains section.
- Step 4: Select Add and enter the domain you want to block.
- Step 5: Select Save to apply the changes.
How to Check Your Blocked Senders List
Outlook allows users to review the email addresses and domains that have been blocked previously. Checking the list is especially useful if users want to confirm that the sender has been blocked, remove an address that was mistakenly blocked, or keep the email-filtering settings organized.
Checking Blocked Sender List in Outlook on the Web
To check the blocked sender list in Outlook on the Web, users can follow the given steps:
- Step 1: Open Outlook in your web browser.
- Step 2: Select the Settings icon and select Mail from the menu.
- Step 3: Choose Junk email and look for the Blocked senders and domains section.
- Step 4: Review the addresses and domains listed there.
Checking the List in Outlook for Windows or Mac
To check the blocked list in Outlook for Windows or Mac, users can check out the given steps:
- Step 1: Open the Outlook desktop app.
- Step 2: Open Settings or Junk Email settings.
- Step 3: Find Blocked Senders or Blocked Senders and Domains.
- Step 4: Review the entries on the list.
Checking the Blocked List on Mobile
To check the blocked list in Outlook, users can follow the given steps:
- Step 1: Open Outlook.
- Step 2: Open Settings and go to Mail > Junk email.
- Step 3: Check Blocked Senders and Domains.
Conclusion
In Outlook, blocking unwanted emails is an effective way to keep the inbox organized and reduce spam, promotional messages, and unwanted communication. To understand how to block emails on Outlook, they can follow the list stated above. Whether the user is using the web, Mac, Windows desktop, or a mobile platform, they can block emails in Outlook or an entire domain efficiently and can also manage the blocked-sender list as needed. Furthermore, for persistent spam, users can combine blocking with the junk reporting features and email rules of Outlook to ensure additional control. With the right combination of blocking, reporting, unsubscribing, and rules, users can significantly reduce unwanted messages and keep their Outlook inbox cleaner and easier to manage.