


 Continue with Google

 Share on media

The guide explores what a BIMI record is, how it works, how to set one up, and the best practices to follow for a reliable implementation.
Email authentication has evolved significantly beyond simply offering a message that came from an authorized server. In the current digital landscape, businesses also require recipients to recognize their emails instantly and feel confident that the message is legitimate. This is where BIMI offers its capabilities.
BIMI (or Brand Indicators for Message Identification) allows a domain owner to publish a brand logo in DNS, enabling the participating mailbox provider to display that logo alongside authenticated emails. In simple terms, BIMI connects email authentication with visual brand recognition.
What is a BIMI Record?
A BIMI (or Brand Indicators for Message Identification) record is a type of DNS TXT record that can guide participating email providers on which logo to associate with emails sent from your domain. In general terms, BIMI helps users showcase their brand logo next to their emails in supported inboxes.
For instance, a BIMI record might look like:
default._bimi.example.com TXT “v=BIMI1; l=https://example.com/logo.svg”
In this,
- default._bimi — the standard DNS location where the BIMI record is published.
- v=BIMI1 — identifies the record as BIMI version 1.
- l= — provides the URL of your brand’s SVG logo.
- a= — optionally points to a BIMI certificate, such as a Verified Mark Certificate (VMC) or Common Mark Certificate (CMC).
However, publishing a BIMI record doesn’t guarantee that the logo will appear everywhere. Display depends on the receiving email provider and its specific BIMI requirements.
How Does BIMI Work?
BIMI records generally work by connecting email authentication with the visual identity of the brand. It allows participating email providers to display the logo of the company alongside authenticated emails.
BIMI should be viewed as one component of a broader email security strategy. While BIMI helps recipients visually identify a brand, SPF, DKIM, and DMARC provide the authentication foundation that helps protect domains against spoofing and unauthorized email activity.
BIMI records work in four simple steps, which include:
- Step 1: Business Sends an Email
When an organization sends an email, the message contains the domain. The receiving email provider needs to determine whether the message is genuine or not.
- Step 2: The Receiving Server Checks Authentication
Before BIMI comes into play, the recipient’s email provider checks whether the message passes authentication protocols, such as SPF, DKIM, and DMARC.
- Step 3: DMARC Verifies Domain Alignment
BIMI relies heavily on DMARC. The message generally needs to pass DMARC, with an enforcement policy, such as quarantine or reject, for BIMI eligibility.
- Step 4: Email Provider Looks for a Record
If authentication requirements are satisfied, the provider checks the domain DNS for a BIMI TXT record.
- Step 5: Provider Retrieves Logo
The BIMI record contains a URL pointing to a BIMI-compatible SVG logo. If certificate-based verification is required, the record may also contain an a = tag pointing to a VMC or CMC.
Key BIMI Requirements?
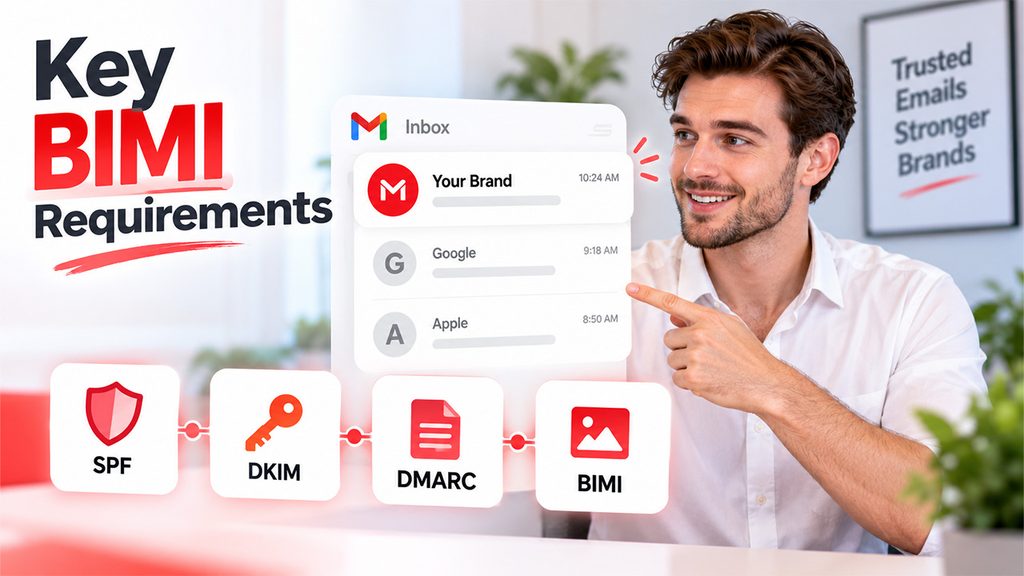
Before implementing BIMI, the domain needs to meet various technical and authentication requirements. BIMI is built on existing standards, such as SPF, DKIM, and DMARC.
Some of the key requirements of BIMI records are as follows:
- Proper SPF Configuration
The domain should have a valid SPF (Sender Policy Framework) record that can identify the email servers and services authorized to send messages on its behalf.
- Valid DKIM Authentication
Emails sent from your domain should be authenticated using DKIM (DomainKeys Identified Mail). DKIM adds a cryptographic signature to outgoing messages, allowing receiving mail servers to verify that the message is associated with a domain.
- DMARC Enforcement
It is among the most important BIMI requirements. Before moving to enforcement, monitor your DMARC reports and make sure legitimate email sources are passing authentication.
- A Valid BIMI DNS Record
Users need to publish a BIMI TXT record in their domain DNS. The record tells participating mailbox providers where to find the BIMI logo.
BIMI vs. SPF vs DKIM vs DMARC
A quick comparison between BIMI, SPF, DKIM, and DMARC are as follows:
| Features | SPF | DKIM | DMARC | BIMI |
| Primary Purpose | Identifies the authorized sending server. | Verifies email authenticity and message integrity. | Defines authentication policy and checks domain alignment. | Displays brand logo for qualified authenticated emails |
| Works Through | DNS TXT record | Cryptographic signature vs DNS public key | DNS TXT record | DNS TXT record + logo and sometimes a certificate. |
| Protects Against | Unauthorized use of the domain’s sending infrastructure. | Message tampering and unauthorized use of a DKIM signing domain. | Domain spoofing and certain phishing attacks. | Helps recipients visually identify authenticated brands. |
| DNS Required? | Yes | Yes | Yes | Yes |
| Logo Display | No | No | No | Yes, where supported. |
| Reporting | Limited | Limited | Yes | No |
BIMI and CAN-SPAM: Understanding the Difference
BIMI and CAN-SPAM serve different purposes, but both can be part of a responsible email strategy. BIMI focuses on helping participating email providers associate authenticated messages with a brand logo, while CAN-SPAM establishes requirements for commercial email, including rules related to deceptive headers and subject lines, identification of commercial messages, and mechanisms for recipients to opt out.
How to Set Up a BIMI Record

Setting up a BIMI record generally involves more than just adding a TXT record to the DNS. The domain must first have a reliable email authentication setup, and the brand logo must meet BIMI’s technical requirements.
To set up BIMI records, users can follow the given steps:
- Step 1: Make Sure SPF and DKIM are Configured
The first step is to confirm the domain uses SPF and DKIM. SPF identifies the servers authorized to send email for your domain, while DKIM uses a digital signature to authenticate messages.
- Step 2: Configure DMARC
BIMI relies on DMARC. Users need to configure the DMARC policy properly. A domain using only p=none is generally not eligible for BIMI to display.
- Step 3: Create a BIMI-Compatible SVG Logo
Prepare the logo the user wants associated with their email. BIMI requires a specially formatted SVG logo. Users should not simply rename a PNG or JPEG file with an .svg extension.
- Step 4: Determine Whether VMC or CMC is Needed
Depending on the mailbox providers the business is targeting, they may need a certificate associated with their BIMI logo. VMC (or Verified Mark Certificate) provides additional verification of the organization’s rights to use a logo. Whereas CMC (or Common Mark Certificate) is another certificate option supported within the BIMI ecosystem.
- Step 5: Publish BIMI TXT record
Once authentication and logo are ready, create a BIMI TXT record in the domain’s DNS.
- Step 6: Verify DNS Record
After publishing the record, users can check that it is publicly available and correctly formatted.
- Step 7:Text BIMI Implementation
Test the complete email authentication chain. Users can check that SPF passes, DKIM passes, DMARC passes and aligns correctly, the BIMI TXT record is visible, and any required VMC or CMC is valid.
Common BIMI Setup Mistakes
The process of setting up a BIMI record may seem easy and straightforward, but a small configuration error can prevent the logo from appearing in the supported inboxes. Some of the most common BIMI setup mistakes are listed below.
- Publishing BIMI before DMARC is Ready
One of the major mistakes that users make is adding a BIMI record before properly configuring DMARC. BIMI depends on DMARC authentication and generally requires an enforcement policy.
- Using an Invalid SVG Logo
BIMI generally requires a compliant SVG logo. Simply converting a regular PNG or JPEG into an SVG container doesn’t necessarily make it BIMI-compatible.
- Incorrect BIMI DNS Record
Even a minor typing mistake in the DNS record can prevent BIMI from working. Some common errors include an incorrect hostname, missing v=BIMI1, an incorrect logo URL, an invalid certificate URL, or publishing the record as the wrong DNS record type.
Conclusion
BIMI record offers businesses a practical way to connect email authentication with brand recognition. By properly configuring SPF, DKIM, and DMARC, publishing a valid BIMI record, and using a compliant SVG logo, organizations can make their emails more recognizable in supported inboxes. However, BIMI should be treated as part of a broader email security strategy rather than a standalone solution. Following the right setup steps and regularly monitoring authentication records can help businesses maintain a reliable and consistent BIMI implementation.