
 Continue with Google

 Share on media
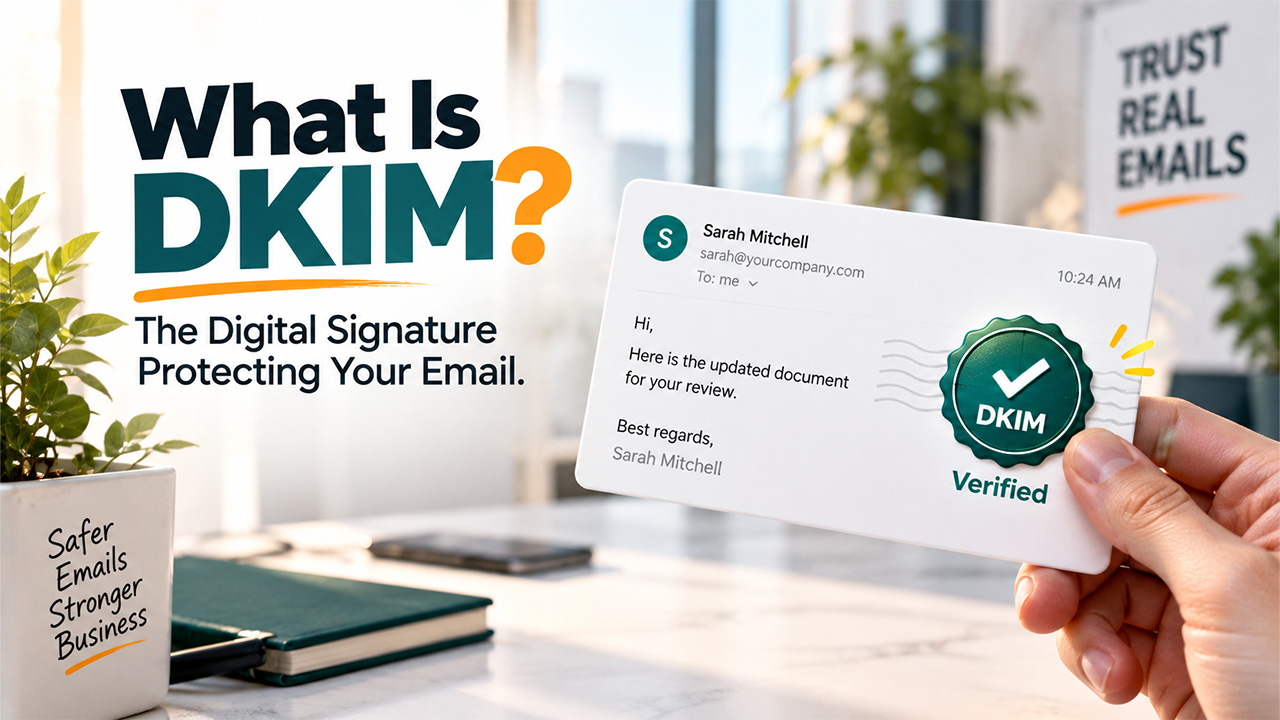
A finance manager gets an email that looks exactly like it’s from her CEO. It has the same name, same signature, and same tone. She wires the funds as asked in the email. Only later does anyone realize that the real CEO didn’t send anything, and the domain was spoofed to make it look like it came from the CEO. This is more common than most people think, and it’s exactly the kind of gap that email authentication was built to close. One of the biggest tools to fight domain spoofing is DKIM. If you’ve ever wondered what DKIM is, how it protects your inbox, or why your IT team keeps mentioning it, this guide breaks it down in plain language; no jargon is required.
What Is DKIM Authentication and What Does DKIM Mean?
In simple terms, DKIM stands for DomainKeys Identified Mail. It’s a method for email authentication that proves two things: the message really came from the domain it claims to be from, and nobody tampered with it along the way. It uses a private-public key pair. It is kind of like a digital wax seal. Your mail server “seals” the email before sending, and the receiving server checks that seal against a public key stored in your DNS. If they match, the email is trusted.
How Does DKIM Authentication Work?
Understanding how DKIM works doesn’t require a computer science degree. Here’s the process, broken into simple steps:
A DKIM Key Pair Is Created: The domain owner generates two keys, a private and public key. A private one stays hidden on the sending server, and a public one gets published in DNS for anyone to check against.
The Email Is Hashed and Digitally Signed: When someone hits send, the mail server creates a unique hash based on the email content and headers, then encrypts it with the private key. This becomes the DKIM signature.
The Receiving Server Recalculates the Hash: The recipient server uses the same message content and headers to generate its own version of the hash to compare.
The DKIM Signatures Are Verified: If they line up, the email passes DKIM authentication. If even one character changes in transit, the hashes won’t match, and the email fails the check.
This whole exchange happens in the background, in a fraction of a second, every single time an email lands in an inbox.
Key Benefits of DKIM Authentication
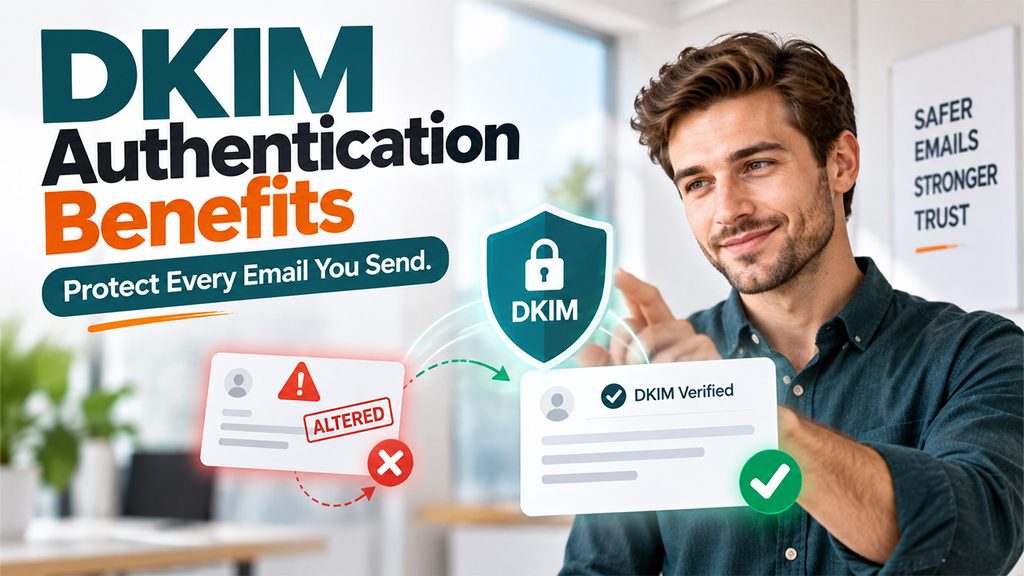
DKIM is more than just a technical checkbox that you forget about. It genuinely changes how your email behaves in the real world. Knowing how to identify phishing emails becomes a lot easier once DKIM is doing its job in the background.
DKIM Confirms Your Email Wasn’t Altered: When someone tampers with the email body or headers or tries to intercept the email after it’s signed, the signature breaks, and the message fails authentication instantly, which confirms that your message was altered and you can proceed with caution.
It Ties Email Responsibility to Your Domain: Even when a third-party platform sends email on your behalf, DKIM signs it with your domain’s identity. This lets mailbox providers know who is accountable for which email.
It Helps Build a Better Sender Reputation: Several big providers like Gmail and Outlook use DKIM as one signal to decide whether your emails land in the inbox or the spam folder.
It Strengthens DMARC Enforcement: DKIM works alongside SPF to help DMARC block spoofed emails. This makes your overall Email Security Policies far more effective at stopping impersonation attempts that try to scam you.
What Are DKIM Records and Selectors?
This part sounds technical, but it’s really pretty simple once you see how the pieces connect.
What Is a DKIM Selector?
It is a short label, something like “selector1,” that tells a receiving server exactly where to look in DNS to find the right public key. If you don’t already know, a domain can use more than one key at a time, say, one for regular email and another for a marketing platform. The selector’s job is to make sure that the server checks the correct one instead of guessing.
What Is a DKIM Record?
It is the actual DNS entry that the selector points to. It’s a small piece of text sitting in your domain’s DNS, and it holds the public key needed to verify a message’s signature. Since it’s called the public key, anyone can look at it, but only your private key can create a signature that matches it.
Now come the tags. One thing worth noting is that tags are not part of the selector or the record themselves. Rather, they’re pieces of data that live in two separate places.
Inside the email, in the DKIM-Signature header attached when the message is sent, you’ll find two tags:
- d= tag — names the domain that signed the message
- s= tag — names the selector used for that specific signature
These two tags travel with the email and act as pointers. They tell the receiving server which domain to check and which selector to use to find the right DNS record.
Inside the DNS record itself, the one the selector points to, you’ll find:
- p= tag — this holds the actual public key, encoded as a long string of characters
So, this is how the full flow looks:
The email carries the d= and s= tags → the receiving server uses those to locate the correct DNS record under that domain and selector → the record’s p= tag contains the public key that verifies the signature actually matches.
In short: d= and s= are pointers carried inside the email. p= is the payload sitting in DNS. The selector is simply the bridge connecting the two.
Common DKIM Errors and How to Troubleshoot Them
Even a properly configured domain has its downsides sometimes. Here’s what usually goes wrong, and how to fix it:
Signature Mismatch Error: This typically happens when something in the email changes after it’s signed, often a security gateway or forwarding service. However, you can switch to “relaxed” canonicalization, which usually solves minor formatting issues like this.
DKIM Record Not Found: It is usually a DNS problem. To resolve this, double-check that the selector in your email header actually matches a real TXT record and give new records time to propagate.
Cloud Platform Conflicts: Several cloud services like Microsoft 365 or Google Workspace don’t turn DKIM on by default. So, instead of assuming that they do, enable it manually and publish the selectors they provide.
Mistyped DKIM Keys: DKIM keys are long strings of random characters. If you make even a single copy-paste error, it can break the whole thing. Therefore, you must always verify that the key was copied in full.
DKIM Management Best Practices
Setting DKIM up once isn’t enough. It needs regular upkeep to stay effective.
- Use 2048-bit keys: Older 1024-bit keys are considered weak now. The longer key length makes your signature far harder to crack.
- Rotate your keys regularly: In every six to twelve months, rotate your keys. This helps limit the damage if a private key is ever compromised without anyone noticing.
- Assign a unique selector per service: This makes it much easier to audit, troubleshoot, or retire one sender’s key without disrupting everyone else.
- Monitor your DNS records: Clean out old or unused DKIM entries periodically and make sure the syntax stays correct, so nothing quietly breaks.
Conclusion
Sure, DKIM works quietly in the background, but its job is much bigger than that. It gives your domain a way to prove authorship and integrity every single time an email goes out, which makes it more difficult for attackers to impersonate your brand and scam people.
DKIM alone isn’t a complete defense, which is why pairing it with SPF and DMARC matters so much. When they are used together, they form a layered system that protects your reputation, improves deliverability, and helps recipients trust what lands in their inbox. It takes some DNS effort to set it up, but in turn, you get a domain that’s far harder to spoof and a lot easier for people to trust.