












 Continue with Google

 Share on media
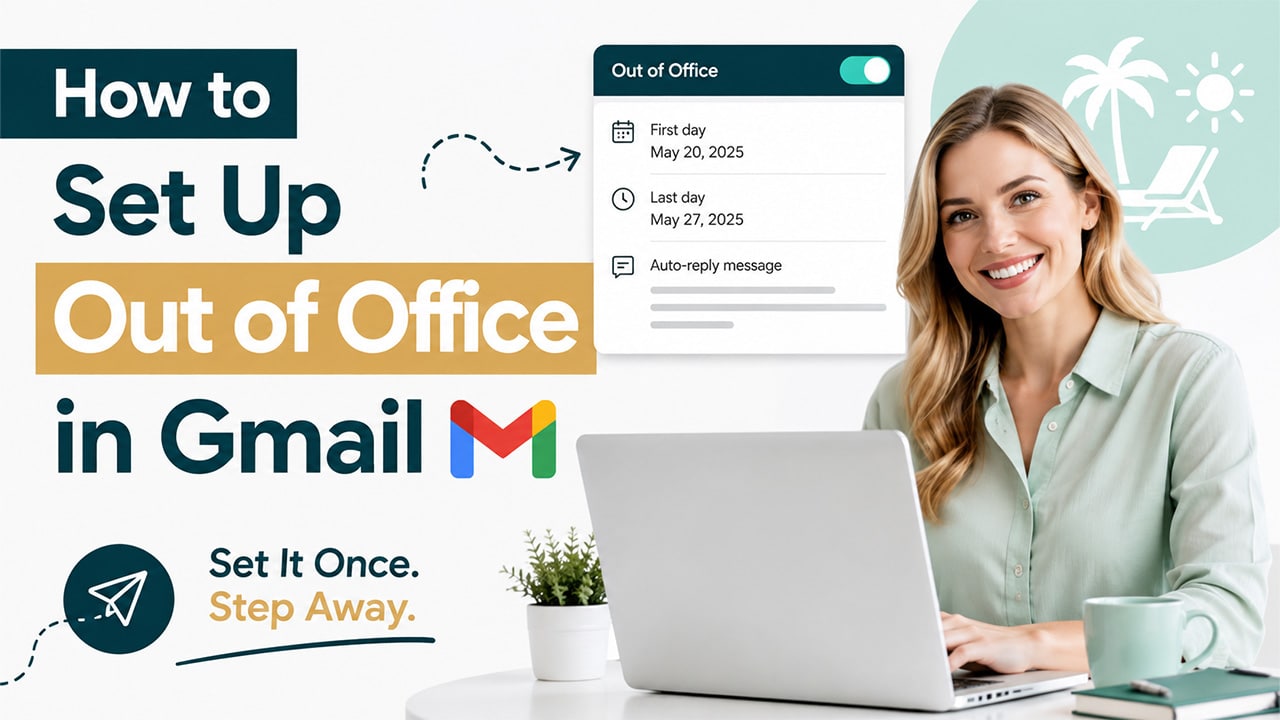
Heading out on vacation, taking a sick day, or just spending a few hours offline and forgetting to set up an auto-reply is one of those small oversights that quietly creates a bad impression. Knowing how to set up an out-of-office in Gmail takes less than a minute, and it saves you from a pile of “did you see my email?” messages the moment you’re back.
This is handled by Gmail’s auto-reply system, which will inform others that you are not available without you having to personally reply to each message. This is true regardless of how long you are out of office and can even be tailored depending on who is sending the email.
In this blog, we’ll walk through exactly how to set it up on both desktop and mobile, what to actually write, and a few mistakes worth avoiding along the way.
What Is an Out of Office Reply?
An out-of-office reply is an automatic reply that Gmail sends on your behalf each time you receive an email when you’re away from the office. Rather than keep them guessing whether you received their email or not, the out-of-office reply informs them of your absence.
This is usually referred to as Gmail out-of-office, although sometimes you will find it being mentioned as an auto-reply or a vacation responder, both of which refer to the same function. Once this is activated, Gmail does everything on its own and sends your prewritten message to everyone who writes to you.
It is just a small addition, but an extremely handy one. Whether it’s just for a day or a long vacation, the communication flows smoothly, the sender knows what is happening, and you don’t have to respond to your emails right away; you’re online again.
Setting up Out of Office in Desktop
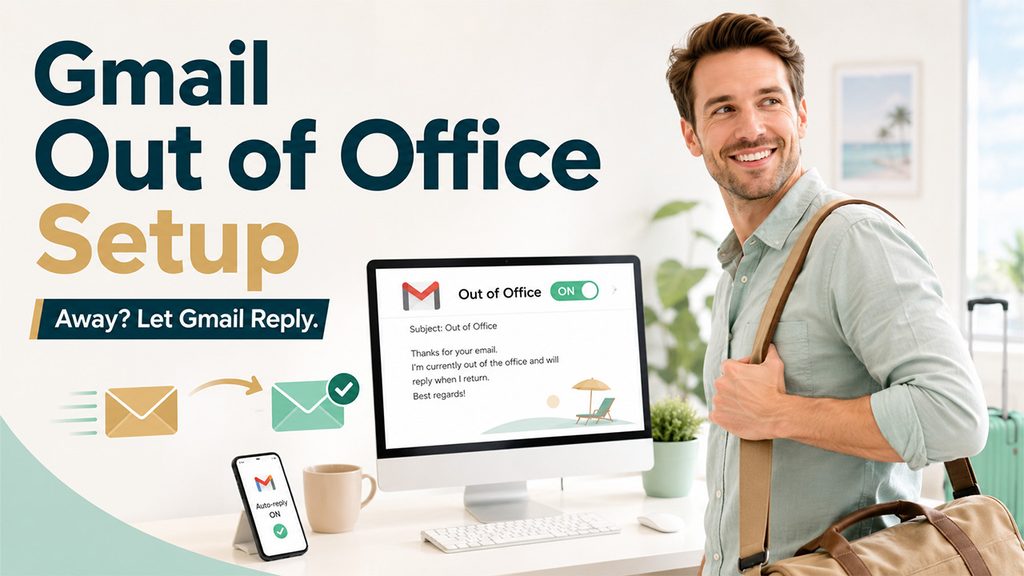
Here’s exactly how to set up an Out of Office reply in Gmail using the desktop version; it takes under a minute once you know where everything lives:
Step 1: Open Gmail in your browser and click the gear icon in the top-right corner.
Step 2: Click “See all settings”.
Step 3: On the General tab, scroll all the way down to the “Vacation responder” section; it’s near the bottom, just above the Save button.
Step 4: Select “Vacation responder on”.
Step 5: Set the “First day”, that will be the date when Gmail starts sending auto replies. Also check “Last day” if you already know the return date, else leave it unchecked to disable it manually.
Step 6: Compose the Subject line and the actual message.
Step 7: Optionally, check “Only send a response to people in my Contacts” if you don’t want it going out to every random sender.
Step 8: Click “Save Changes”.
One useful detail worth knowing: Gmail only sends one auto-reply per sender every four days, not on every single email they send you. So if a colleague emails you three times in one day, they’ll only get the auto-reply once.
Setting up Out of Office on Mobile
In case you want to go on leave but have your phone at hand, setting up out of office on mobile works on the same principle but is simply located in a different place.
Step 1: Open your Gmail app and press the icon in the top left corner. (If you’re setting this up alongside a CRM or third-party tool, this guide on enabling Gmail IMAP settings is worth checking too.)
Step 2: Scroll down until you find “Settings”
Step 3: Select your email account.
Step 4: Press “Vacation responder” if you use an Android phone and “Out of Office AutoReply” if you use an iOS device; both work on the same principle, just called differently depending on your OS.
Step 5: Switch it on, choose your time period, subject and message.
Step 6: Press “Save” for Android and “Done” for iOS.
The good part here is that everything syncs automatically. Turning it on through the app activates it across desktop too, so you don’t need to set it up twice on different devices.
Writing a Good Auto Reply Message

Getting the setup right is only half the job; what you actually write in your Gmail auto reply matters just as much, especially for anyone emailing you for work.
- State your dates clearly: Let people know exactly when you’re away and when you’ll be back, so they’re not left guessing.
- Give an alternative contact: If something urgent needs handling while you’re out, name a colleague or backup contact who can help.
- Keep it short: Nobody needs a paragraph explaining why you’re away. Short sentences are preferable over a lengthy email.
- Match the tone to your workplace: A brief and informal message will suffice for informal teams, but for more client-oriented settings, you’ll need something slightly more formal.
- Mention when you’ll respond: By letting the other person know, for example, “I’ll reply within 24 hours of my return”, you will be able to reduce the follow-up messages.
If you send similar messages often, it’s worth keeping a saved Out of Office Email Template on hand rather than rewriting one from scratch every time you step away.
Common Mistakes to Avoid
A few small missteps can undercut an otherwise well-set-up auto-reply:
- Forgetting to set an end date: Without one, your auto-reply keeps going long after you’re back, which looks disorganized to anyone emailing you weeks later.
- Being too vague: “I’m away” without dates or a backup contact leaves people with no real next step.
- Sharing too much personal detail: Nobody emailing you for work needs to know exactly where you’re traveling or why you’re out.
- Not testing it first: Send yourself a test email after setting it up, just to confirm the message and dates look right before you actually leave.
- Ignoring platform differences: If your team uses a mix of tools, it’s worth knowing how the Out of Office Message in Outlook setup differs slightly, so instructions don’t get mixed up across platforms.
Small details like these are easy to overlook, but they’re just as easy to get right once you know what to watch for.
Conclusion
In the end, knowing how to set up out-of-office on Gmail is not a big thing, yet its benefits are enormous. Just a few minutes that you spend setting up out of office will save you time and effort later and prevent a flood of messages in case you decide to take a sick day or even a vacation.
Just take the extra minute to add some specific details, dates, an alternative contact in case needed, and a practical time for response. It is a small routine that will help keep everything flowing nicely on both sides. But in case it seems like scheduling leaves even Gmail at a loss, it will be worth checking out the best tools for scheduling designed specifically for such purposes.